Holiday Advent

So I suffer from severe Christmas envy. I grew up with a minister’s daughter for a best friend, and every year, I got to go over and do up the tree and get a present. (Read my last post for more of this mushy stuff) So, as a modern 2014 Jewish mommy, my goal is to make this holiday as fun and festive as Christmas.
To start off with, they have this advent thingy. It’s a luscious cardboard box with daily tabs that open up to reveal yummy chocolates. WELL!!! I love chocolate!!!! So, why not make a Hanukkah one? And maybe fill it with not only some Hanukkah Gelt (wrapped chocolates that look like coins), or some little gifty items like lip gloss, or even a yo-yo I picked up for my son! I’ve got hair clips and Kinder Surprises, and all kinds of cute dollar-store-type items that my kids will just love. Imagine getting to open one of these little packages every single day of Hanukkah!! That’s 8 days of fun!!
Things you’ll need:
- Fabric dye in a colour you like
- A really crappy bowl you don’t care about
- A few branches
- Some twine
- Muslin baggies (I got mine at Michael’s craft store, they were cheap and perfect…in the wedding isle…telling you this because they are hard to find)
- Sharpie or fabric pen
Instructions:
- Make the dye in a bowl. I used 2 bowls and made 1 lighter (less dye) and 1 darker (more dye) so that I could create an ombre look. But you can use just one if you prefer.
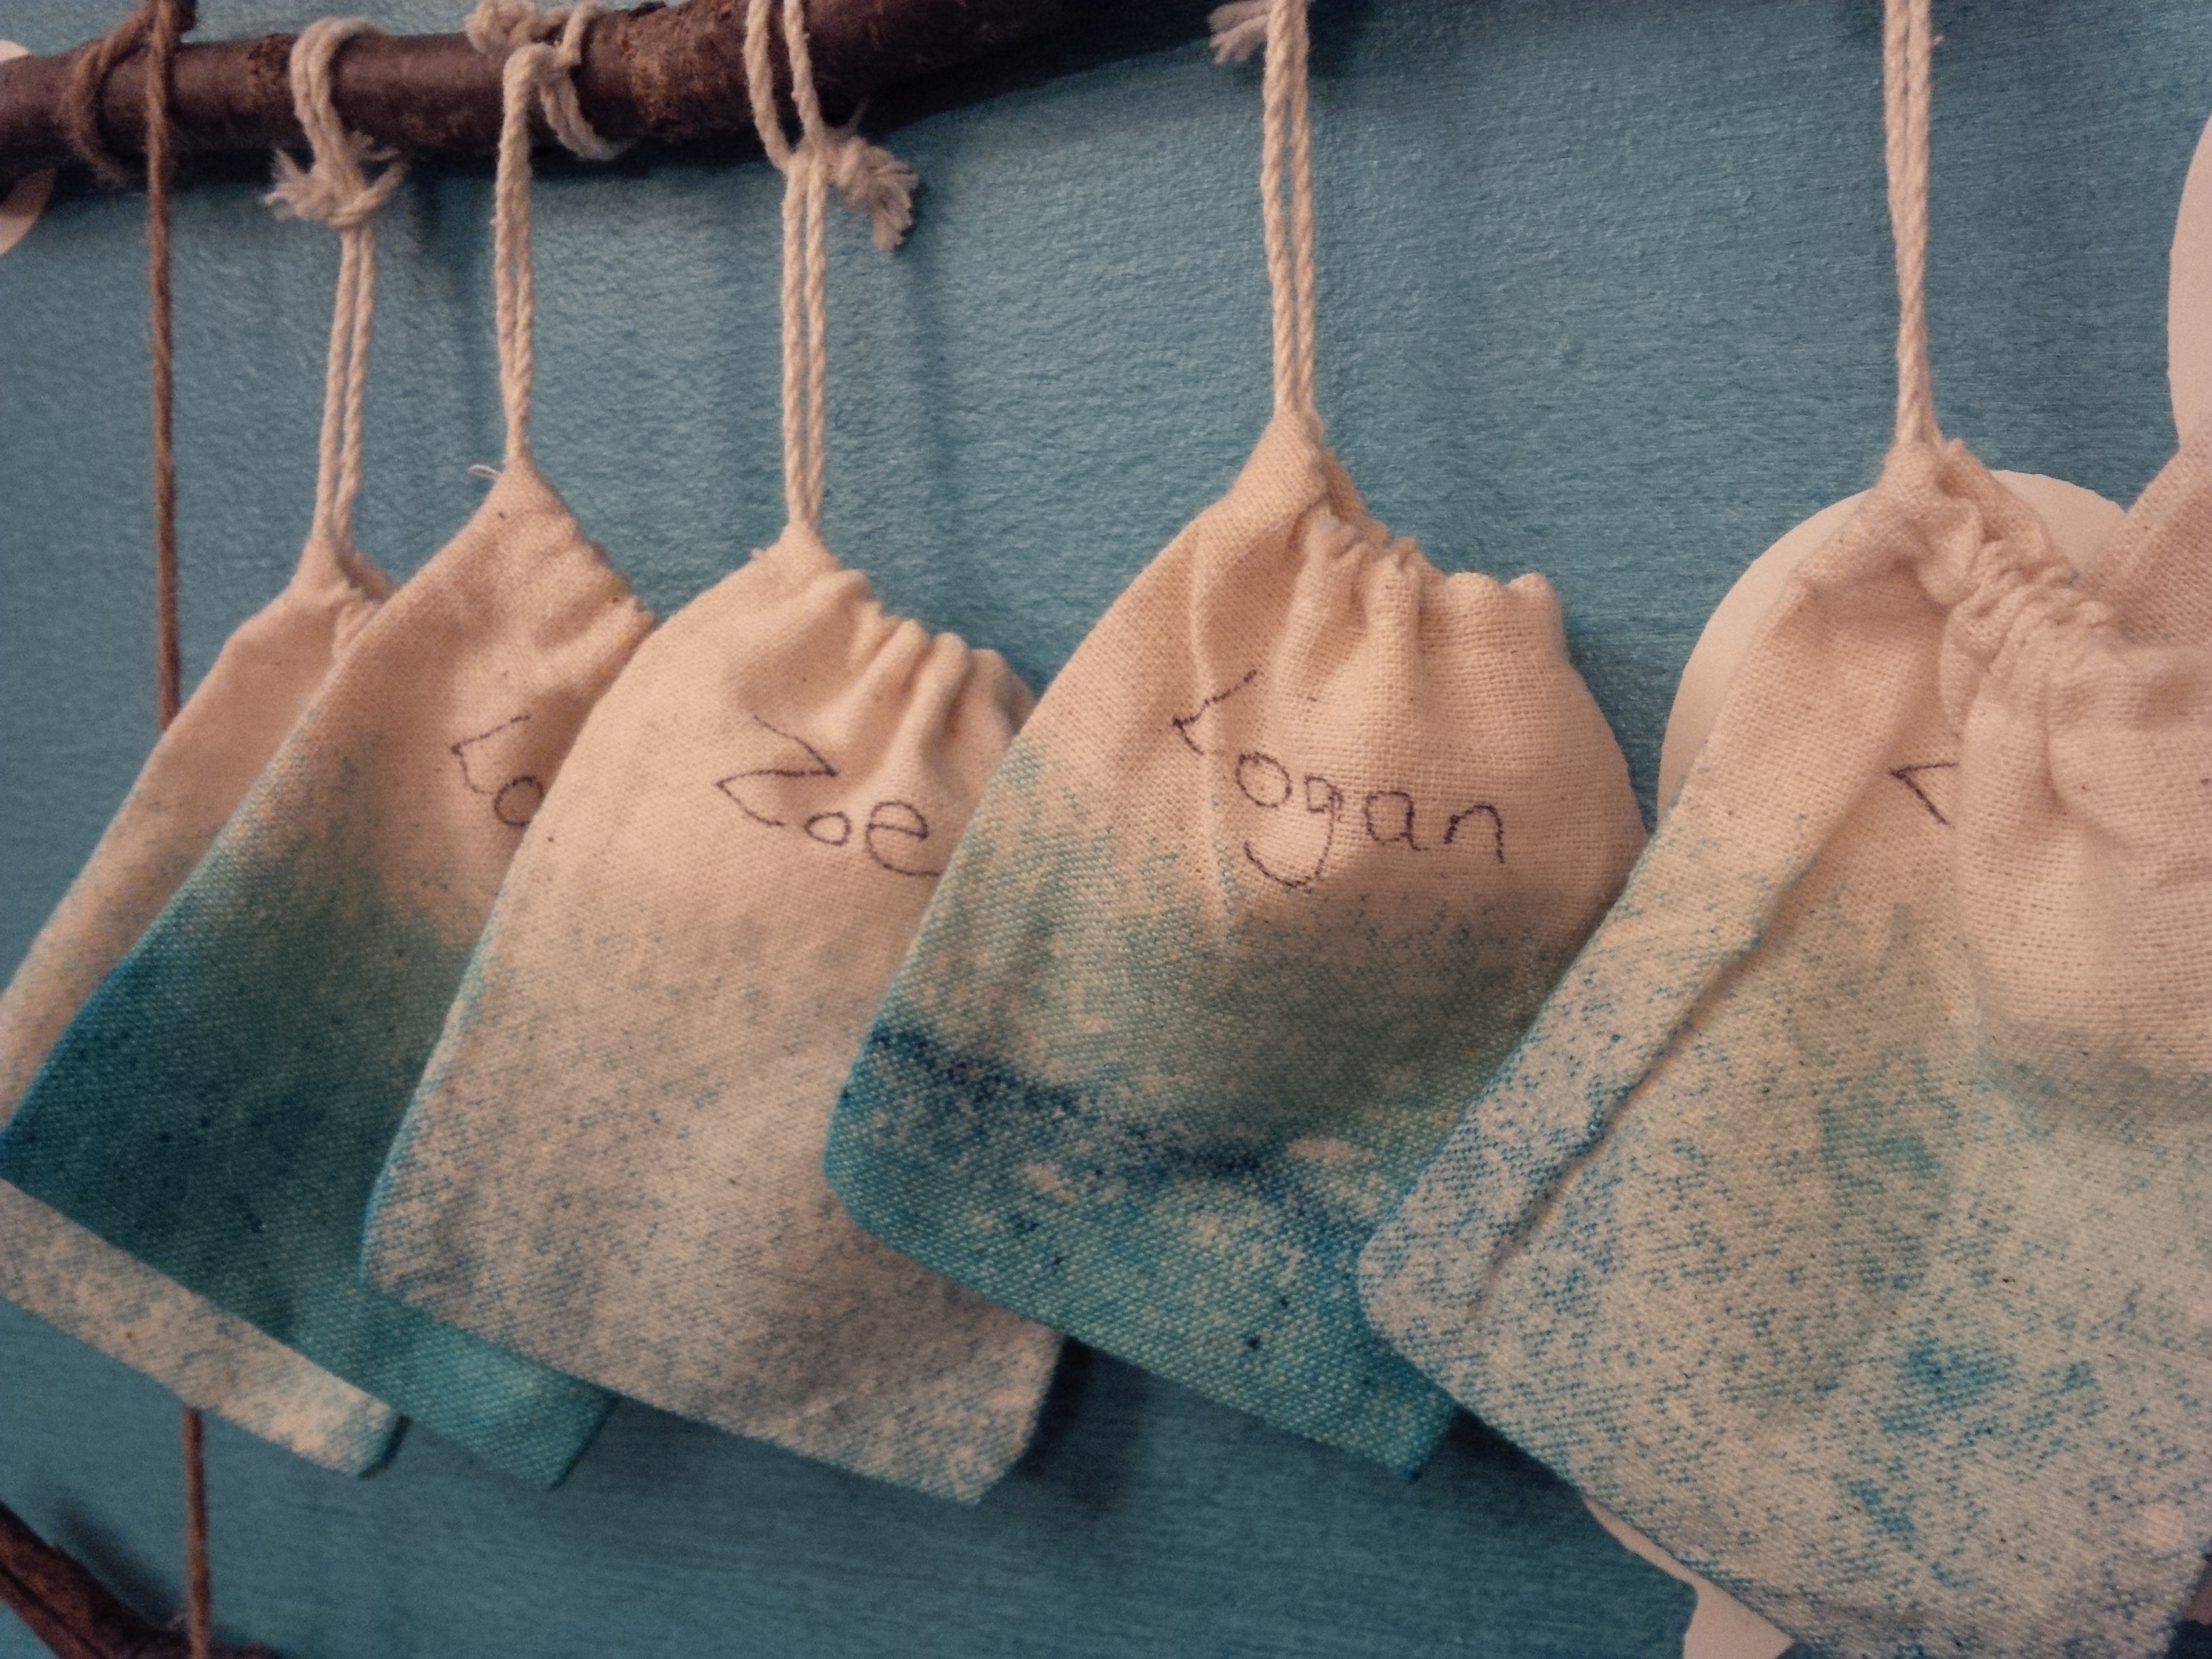
- Dip your bags, 1 at a time, into the bowl. For the ombre look, first dip in the light colour in as high as you want to go, then dip in the dark colour, dipping less of the bag in. It really doesn’t matter that they all look the same, my kids helped me do it, so mine are all different.
- Dry them on paper towel on top of a plastic bag because the dye will seep through and you don’t want a disaster/mess.
- Do one/day, so if you’re making it for Christmas, do 25 days! You can even alternate colours (green/red) or whatever goes with your décor.
- Take the 3 branches and weave the ends together. 1 string down each side, and tie the strings at the top. I measured the distance by putting a bag on first so I’d know how long it would hang down. You can use wider branches if you have more bags.
- Put their names or the dates on the bags. I’ve used my kids names. You can put day 1, 2, 3 etc.
- Put the bags on the branches.
- Fill with goodies!!
It’s craft time, so look forward to a few more before the Holidays are in full swing…I have a lot of typing to do in the next few days!
Enjoy your Holiday Advent and keep in mind, that this craft can be used for counting down to anything. Imagine filling it up before a birthday, or a family vacation, or any great event in your lives.
Happy crafting!
Have a terrific day!
XR